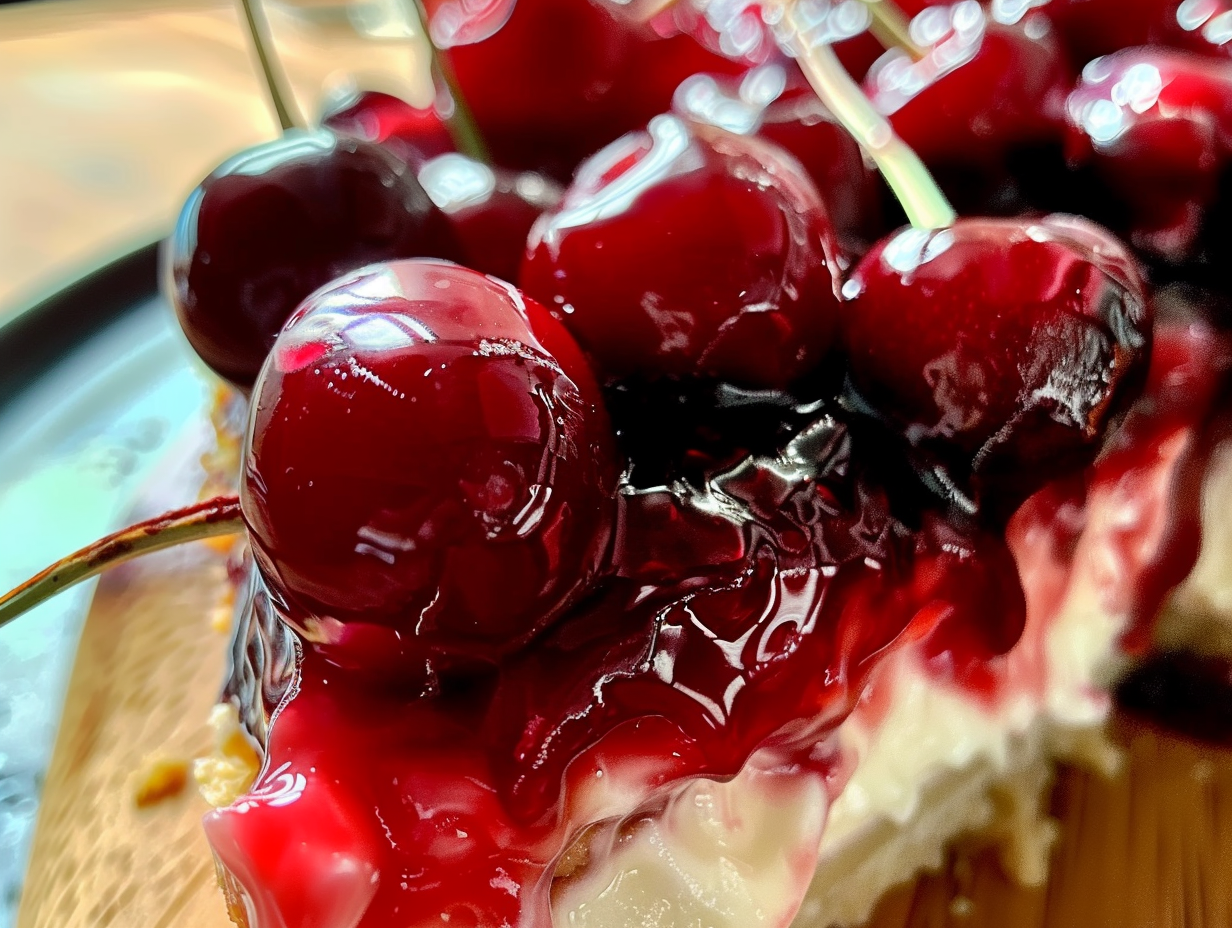
Cherry Cheesecake Lush Recipe: A No-Bake Delight 🍒🍰
Prep Time: 20 minutes
Chill Time: 4 hours (or overnight)
Servings: 12
Introduction:
Looking for an easy, no-bake dessert that brings together layers of creamy cheesecake, sweet cherries, and a buttery graham cracker crust? This Cherry Cheesecake Lush is the perfect answer! It’s a crowd-pleasing dessert that’s light, fruity, and creamy all at once. Best of all, there’s no need to turn on the oven, which makes it a great treat for warm weather or when you’re short on time.
The luscious layers of graham cracker crumbs, velvety cheesecake filling, cherry pie filling, and whipped cream come together in this dreamy dessert. It’s ideal for potlucks, holidays, or just satisfying that sweet tooth.
Ingredients for Cherry Cheesecake Lush:
For the Crust:
- 2 cups graham cracker crumbs
- ½ cup unsalted butter, melted
- 2 tbsp sugar
For the Cheesecake Layer:
- 16 oz cream cheese, softened
- 1 cup powdered sugar
- 1 tsp vanilla extract
- 1½ cups whipped topping (or homemade whipped cream)
For the Cherry Layer:
- 1 can (21 oz) cherry pie filling
For the Whipped Cream Topping:
- 1½ cups whipped topping (or homemade whipped cream)
- Optional: extra graham cracker crumbs for garnish, fresh cherries for decoration
Why You’ll Love This Recipe:
- No-Bake Magic: Keep your kitchen cool—this dessert requires zero oven time!
- Layered Perfection: The combination of textures and flavors—crunchy crust, creamy cheesecake, sweet cherries, and fluffy whipped topping—is what makes this dessert unforgettable.
- Quick to Assemble: With just 20 minutes of prep, it’s a time-saver, and the hardest part is waiting for it to chill in the fridge.
- Great for Gatherings: This lush dessert easily serves a crowd, making it perfect for potlucks or family dinners.
Step-by-Step Directions:
1. Prepare the Crust
In a medium bowl, combine the graham cracker crumbs, melted butter, and sugar until fully mixed. Press the mixture into the bottom of a 9×13-inch pan, creating an even layer. Place it in the fridge to chill while you prepare the filling.
2. Make the Cheesecake Layer
In a large mixing bowl, beat the softened cream cheese, powdered sugar, and vanilla extract until smooth and creamy. Gently fold in the whipped topping to make the cheesecake layer light and fluffy. Spread the cheesecake mixture evenly over the chilled graham cracker crust.
3. Add the Cherry Layer
Spread the cherry pie filling evenly on top of the cheesecake layer, making sure the luscious cherries are spread out for every bite to be packed with flavor.
4. Top with Whipped Cream
Generously spread the remaining whipped topping over the cherry layer. Smooth it out evenly, creating a light, cloud-like top to this lush dessert.
5. Chill and Serve
Cover the pan with plastic wrap or foil and place it in the refrigerator for at least 4 hours (or overnight) to allow the layers to set. Before serving, you can sprinkle extra graham cracker crumbs on top for garnish or add fresh cherries for a finishing touch.

Pro Tips for the Best Cherry Cheesecake Lush:
- Softened Cream Cheese: Make sure your cream cheese is fully softened before mixing. This ensures a smooth, lump-free filling.
- Customize the Filling: If you’re feeling adventurous, swap out the cherry pie filling for another fruit topping like blueberry, raspberry, or even a mixed berry medley.
- Homemade Whipped Cream: For a fresher taste, make your whipped cream by beating 1½ cups of cold heavy cream with ¼ cup powdered sugar until stiff peaks form. Fold into the cheesecake layer and top for an even richer dessert.
- Chill Time: Letting the dessert chill for at least 4 hours ensures that the layers have set nicely, making for cleaner slices and better texture.
FAQs:
Can I make this dessert ahead of time?
Absolutely! This is the perfect make-ahead dessert. You can prepare it up to 24 hours in advance, giving it plenty of time to chill and firm up.
Can I use a different type of crust?
Yes! If graham crackers aren’t your thing, you can try using crushed vanilla wafers or digestive biscuits for a different base. You can even go with an Oreo crust for an extra decadent touch.
How long will it last?
This cherry cheesecake lush will stay fresh in the refrigerator for 3-4 days. Be sure to cover it tightly to prevent it from drying out.

Customization Ideas:
- Chocolate Cherry Cheesecake Lush: Add a layer of chocolate ganache between the cheesecake layer and cherry layer for a delicious chocolate-cherry combination.
- Berry Mix-Up: Replace the cherry pie filling with a blueberry or raspberry topping for a new twist on this classic dessert.
- Nutty Crust: Mix in ½ cup of finely chopped pecans or walnuts into the graham cracker crust for added crunch and flavor.
Why This Cherry Cheesecake Lush is a Winner:
This dessert ticks all the boxes—easy to make, no baking required, and bursting with flavor! The cream cheese layer is light and silky, perfectly complemented by the sweet cherries and graham cracker crust. It’s a cool, refreshing treat that’s perfect for summer but delicious enough to enjoy year-round. Whether you’re serving this at a family gathering, a summer BBQ, or a holiday party, it’s bound to be a hit!

